Creating a Buddhist Shrine: Your Gateway to Mindful Living
The Significance of Buddhist Shrines in Daily Life
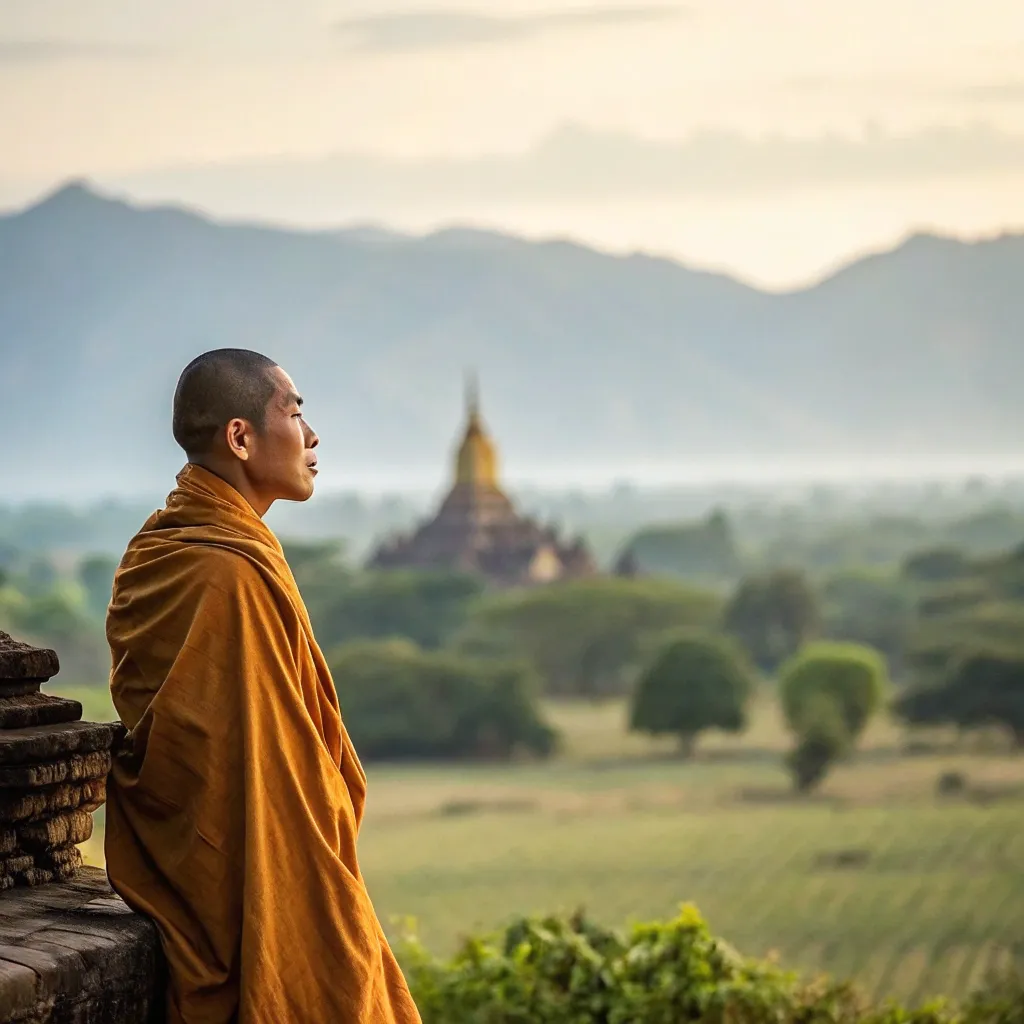
Buddhist shrines, whether quietly placed in Western apartments or colorfully embedded in Asian communities, are more than mere decorations. They serve as personal gateways to mindfulness, spaces carefully crafted to resonate with spiritual reflection, growth, and communal connection. Have you ever considered what a small, intentionally arranged corner in your home could do for your peace of mind?
Creating your shrine is an act of mindfulness, transforming your environment into a physical reflection of your spiritual journey. It doesn’t require wealth or grand resources; rather, it depends entirely on intention and the meaningful arrangement of symbols rooted deeply in Buddhist teachings.
Essential Components of a Meaningful Buddhist Shrine
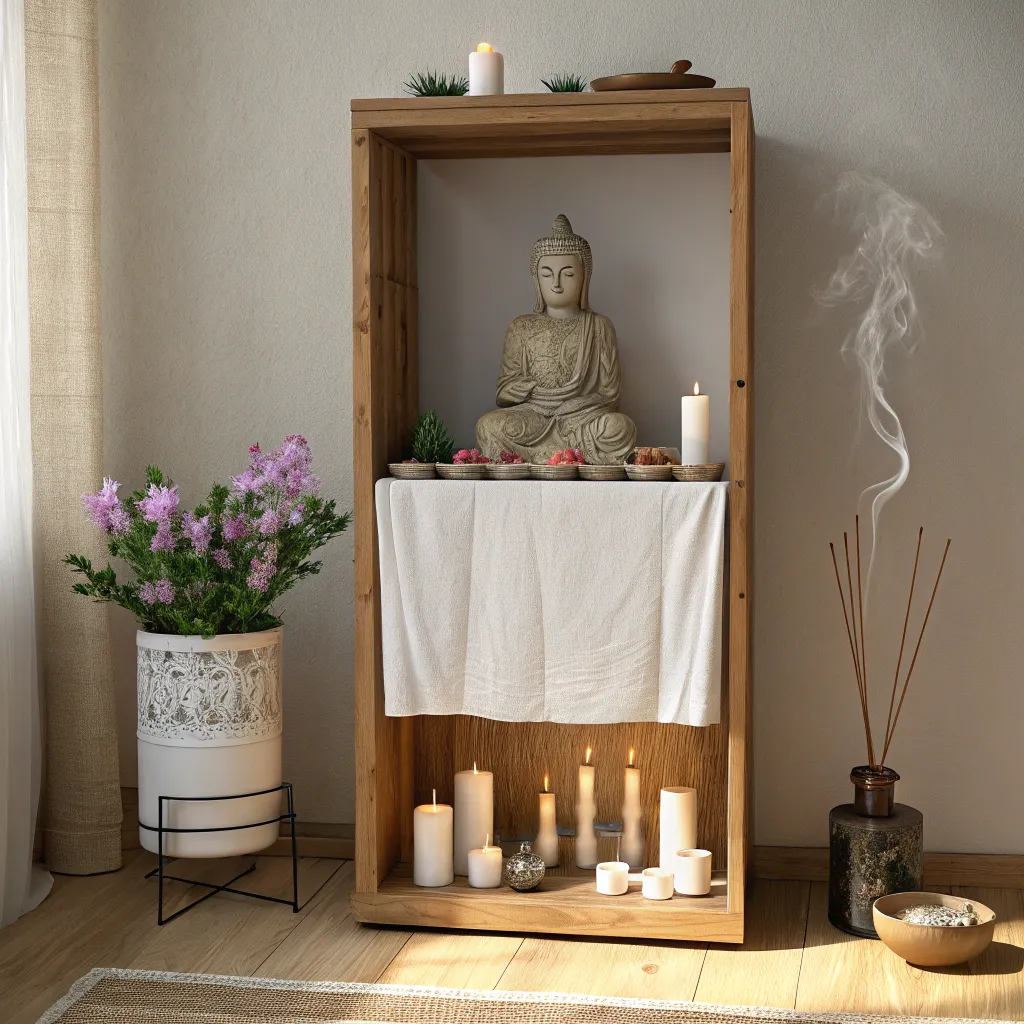
To fully embrace the spirit of Buddhism in your personal space, there are several core elements you’ll want to include:
The Buddha Statue: Symbolizing Enlightenment
At the very heart of every shrine is an image or statue of the Buddha. This representation acts as more than decorative artwork—it’s a powerful reminder of the Buddha’s teachings and your personal path towards enlightenment. Whether you choose a traditional statue or a contemporary design, select something that speaks directly to your spiritual journey.
Flowers: Reminders of Life’s Impermanence
Including fresh flowers in your shrine isn’t merely decorative; it symbolizes the transient nature of life itself. The delicate blossoms, vibrant today and fading tomorrow, vividly remind practitioners to cherish the present and continuously nurture their spiritual path.
Candles and Light: The Path of Wisdom
Candles or other gentle sources of light represent the illuminating power of wisdom that Buddhism emphasizes. Lighting a candle can become a profound, meditative moment, symbolizing the dispelling of ignorance and the awakening to truth. It’s about seeing clearly, beyond the daily clutter of life.
Incense: Aromatic Devotion and Tranquility
Burning incense combines sensory pleasure with spiritual significance, creating an ambiance of reverence and calm. Crafting your own incense holder can turn into a mindful activity itself, reinforcing your connection to the shrine and enhancing your daily practice.
Personal and Sacred Items: Making the Shrine Yours
Your shrine can—and should—include objects with personal spiritual meaning. Photographs of revered teachers, cherished mementos, or meaningful symbols further transform your shrine into a dynamic, ever-evolving reflection of your spiritual aspirations and journey.
Step-by-Step Guide to Setting Up Your Shrine
Constructing your shrine is about thoughtful preparation and mindful placement rather than elaborate setups or lavish displays.
Choosing Your Shrine’s Location and Foundation
A shrine doesn’t require expensive furnishings. In fact, simplicity is ideal. Consider a small shelf, a wooden stand, or even a cardboard box neatly covered with cloth. The important thing is intention, not the costliness of the surface.
Mindful Arrangement and Respectful Placement
Respect and mindfulness should guide your arrangement. Position the Buddha statue centrally, ideally at eye level or slightly higher, emphasizing its importance. Arrange other elements—flowers, candles, incense—symmetrically or harmoniously around the statue. Adding a subtle decoration or halo behind the statue can enhance the sacred atmosphere.
Regular Shrine Maintenance as Spiritual Practice
Maintenance isn’t simply about tidiness—it’s a symbolic ritual of renewal and mindfulness. Regularly cleaning your shrine, refreshing flowers, and rearranging items as your spiritual journey evolves help maintain its vitality, keeping your shrine meaningful and reflective of your current spiritual state.
Key Facts and Figures About Buddhist Shrines (Quick Reference)
Here’s a concise overview of fascinating details surrounding Buddhist shrines:
| Aspect | Interesting Fact or Recommendation |
|---|---|
| Ideal Shrine Placement | Quiet, clean space, elevated to respect the Buddha image. |
| Popular Buddha Statues | Statues of Gautama Buddha in meditation pose most common. |
| Common Shrine Offerings | Flowers, fruits, water, incense, and candles. |
| Recommended Incense | Sandalwood, jasmine, or lavender for calming effects. |
| Symbolism of Elements | Flowers (impermanence), candles (wisdom), incense (devotion) |
| Daily Shrine Practice | Recommended minimum of 5-15 minutes of meditation daily. |
A Living Symbol in the Digital Age
Ancient Roots, Modern Reach
In today’s interconnected world, the Bodhi Tree has found a new home online. Virtual sanghas (spiritual communities), online meditation groups, and wellness platforms often reference the Bodhi Tree as a unifying emblem. You’ll find its leaf on digital wallpapers, retreat branding, or Instagram pages focused on mindfulness.
Buddhist Shrines and Their Role in Meditation and Reflection
The shrine acts as your sanctuary, a sacred space set apart from the daily chaos. Engaging regularly with your shrine deepens your connection to Buddhist teachings (the Dharma) and the wider spiritual community. Whether you practice alone or share your space with family and friends, your shrine supports rituals that nurture clarity, serenity, and spiritual insight.
Imagine your shrine as a mirror reflecting your spiritual progress, a gentle reminder each day to pause, reflect, and embrace mindfulness. Isn’t it reassuring to know there’s a place in your home dedicated exclusively to spiritual growth and peace?
Buddhist Architecture: Harmony Between Earth and Spirit
Moving beyond personal shrines, Buddhist architecture itself holds profound spiritual insights. Originating thousands of years ago in ancient India, Buddhist structures aren’t mere buildings—they represent the intertwining of cosmic principles and human spirituality.
Ancient Origins: Cosmic Inspiration and Earthly Wisdom
Dating back to around 2500 BCE, Buddhist architecture absorbed influences from ancient civilizations, blending them with early Buddhist philosophy. Structures like stupas and monasteries were not just physical shelters; they symbolized the Buddha’s teachings, reflecting cosmic truths through harmonious design.
Sacred Geometry and Symbolism
Buddhist temples often use sacred geometry derived from ancient texts, structuring spaces to metaphorically guide devotees toward enlightenment. Every hall, every pathway, subtly directs attention inward, inviting introspection and spiritual discovery.
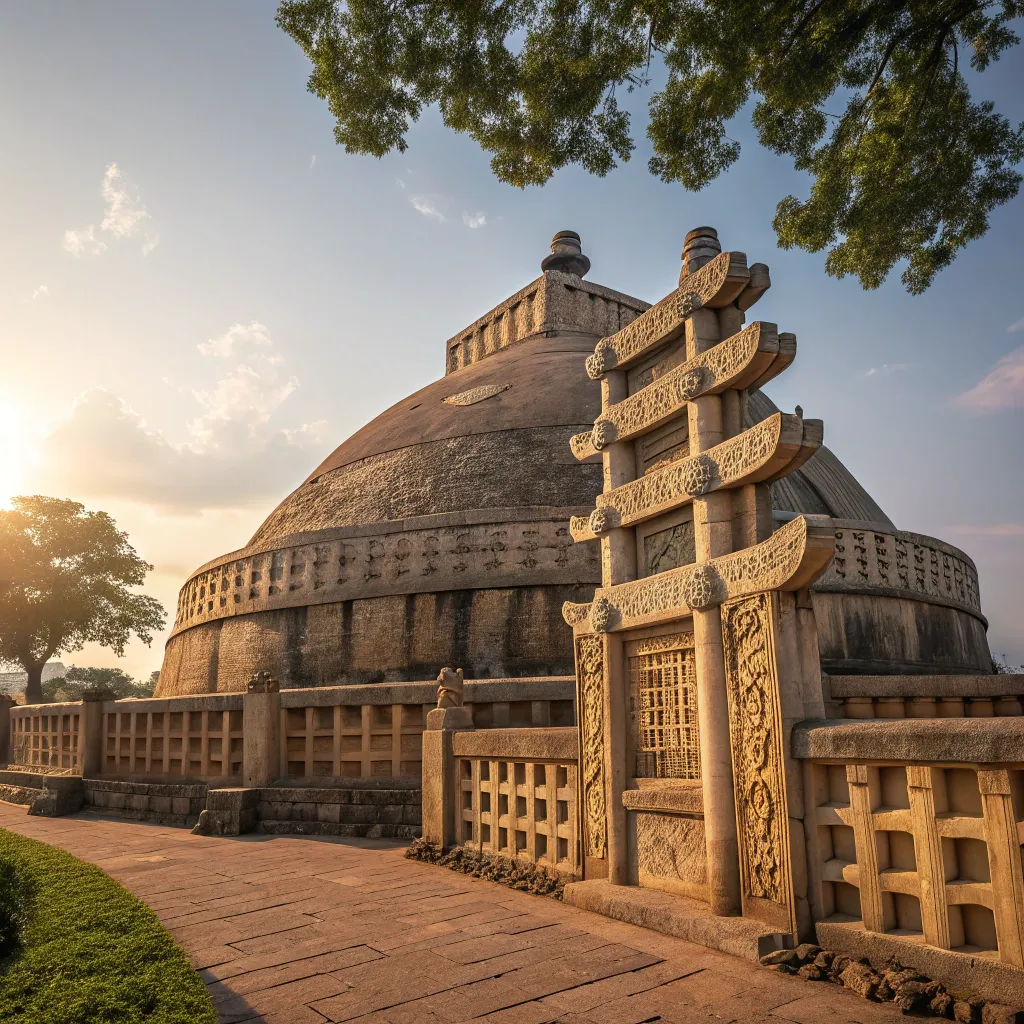
Stupas and Monasteries: Reflections of Buddhist Spirituality
Among the most iconic examples of Buddhist architecture are stupas and monasteries. Originally conceived as sacred reliquaries housing relics of the Buddha or revered monks, stupas have evolved into profound symbols of enlightenment. Places like the Great Stupa at Sanchi or the rock-cut monasteries of Ajanta in India exemplify how architecture and art fuse to vividly communicate spiritual teachings.
Consider the intricate carvings on the gates of the Sanchi Stupa—each panel narrating stories from the Buddha’s life, designed not just to inspire awe, but also to guide the observer into contemplation of deeper truths.
Blending Architecture with Nature
Buddhist architectural tradition emphasizes harmony with nature, mirroring the cosmic landscape and universal principles. Structures often symbolize Mount Meru, the mythical center of the universe, drawing parallels between spiritual and physical realms. Whether it’s temples set amidst serene gardens or monasteries carved directly into mountainsides, nature is not an afterthought but integral to spiritual reflection and practice.
Imagine meditating in a temple garden, hearing the gentle flow of water, seeing leaves flutter—these natural elements aren’t mere decorations; they enhance mindfulness, connecting earthly existence to spiritual insights.
Vesak Lanterns: Crafting Light and Spiritual Symbolism
Learning how to make Vesak lanterns is another meaningful tradition deeply rooted in Buddhist practice. It connects generations, passing down not only technique but spiritual intent. Vesak, celebrated in May, commemorates the Buddha’s birth, enlightenment, and passing. Lantern-making is both a festive activity and a symbolic gesture illuminating the inner path toward enlightenment.
Essential Materials for Your Vesak Lantern
Crafting your lantern begins with simple, accessible materials:
- Sticks (approx. 200 mm each): Bamboo or lightweight wood is ideal.
- Twine or high-quality cotton string
- PVA glue or similar strong adhesive
- Cardboard or Styrofoam for the base
- Covering material: Tissue paper, fabric, or translucent colored plastic
- Tea light candles or small oil lamps
- Decorative elements: glitter, cut-outs, colored ribbons—simple yet beautiful Vesak lantern ideas to personalize your design
Step-by-Step Guide to Lantern Assembly
If you’re wondering how to make Vesak lanterns from scratch, here’s an easy-to-follow process to craft your lantern mindfully and joyfully:
- Create the Frames:
Assemble six identical square frames using sticks tied securely at corners. Strengthen each square with diagonal string lines and a touch of glue at each joint. - Assemble the Lantern Structure:
Connect the squares meticulously to form a cube-like structure. Working in pairs or small groups to make Vesak lanterns enhances the experience and strengthens communal bonds. - Add a Stable Base:
Cut a suitable cardboard or Styrofoam base. Position it securely, ensuring it can safely hold your chosen candle or lamp. - Cover the Lantern:
Wrap the frame in your chosen translucent material. Leave the top open to prevent heat accumulation and allow easy candle placement. Pre-decorate coverings with drawings or cut-outs for captivating effects. - Decorate Thoughtfully:
Add finishing touches with thoughtful Vesak lantern decorations such as glitter, paper motifs, or hanging charms. - Lighting and Display:
Insert a tea light candle or a small oil lamp. After you make Vesak lanterns, hang them outdoors or indoors in a safe, visible area to appreciate the serene glow fully.
Quick Guide: Vesak Lantern Craft Essentials
In addition to lanterns, many Buddhists also explore how to make a Vesak card to offer blessings and gratitude. Handmade cards often feature lotus imagery, Buddha quotes, or symbolic motifs. Crafting one is a simple yet heartfelt way to connect with others during Vesak.
Here’s a concise summary of key points for creating Vesak lanterns effectively and safely:
| Lantern Component | Recommended Options |
|---|---|
| Frame Material | Bamboo sticks or lightweight wood (200mm lengths) |
| Binding | Twine or high-quality cotton thread |
| Base Options | Cardboard, sturdy paperboard, or Styrofoam |
| Covering | Tissue paper, thin fabric, colored plastic sheets |
| Light Source | Tea candles or small oil lamps |
| Decoration Ideas | Glitter, paper cut-outs, ribbons, small ornaments—great Vesak lantern ideas for group or family projects. |
| Safety Tips | Keep lantern top open, ensure stable candle placement |
Maintaining Mindfulness: The Shrine and Beyond
Crafting lanterns and maintaining a Buddhist shrine are complementary practices that cultivate mindfulness and deeper spiritual awareness. Whether you’re maintaining a shrine or learning how to make Vesak lanterns, both activities offer physical representations of abstract spiritual concepts—light symbolizes wisdom; transient materials represent life’s impermanence.
You may even extend this mindfulness by learning how to make a Vesak card for your spiritual teachers or loved ones—each line written becomes an act of compassion.
Regular interaction with Vesak lantern decorations and crafted shrine items enhances your daily mindfulness practice, serving as tangible reminders to live intentionally and compassionately. Consider your lantern and shrine not only as symbols of Buddhist tradition but as active participants in your personal journey toward inner peace and enlightenment.
Conclusion: Integrating Buddhist Traditions into Daily Life
Incorporating these meaningful Buddhist traditions into your home life transforms routine spaces into vibrant centers of spiritual practice and reflection. Whether you make Vesak lanterns with friends or carefully craft a shrine, each action contributes to mindful living, or making lanterns during Vesak, ach action—whether gathering Vesak lantern ideas or meditating near your shrine—enriches your understanding of Buddhism and reinforces mindfulness in everyday moments.
Isn’t it inspiring how simple materials—whether used to build a shrine, make a Vesak card, or light a lantern—can transform your home and heart?